With today’s smartphones, we basically carry computers everywhere we go, so checking our checking account balance is as easy as logging onto our bank’s mobile app or online banking website.
Despite this convenience, the balance you see on your bank’s app may not be accurate. Not all transactions clear immediately, especially if you write a check.
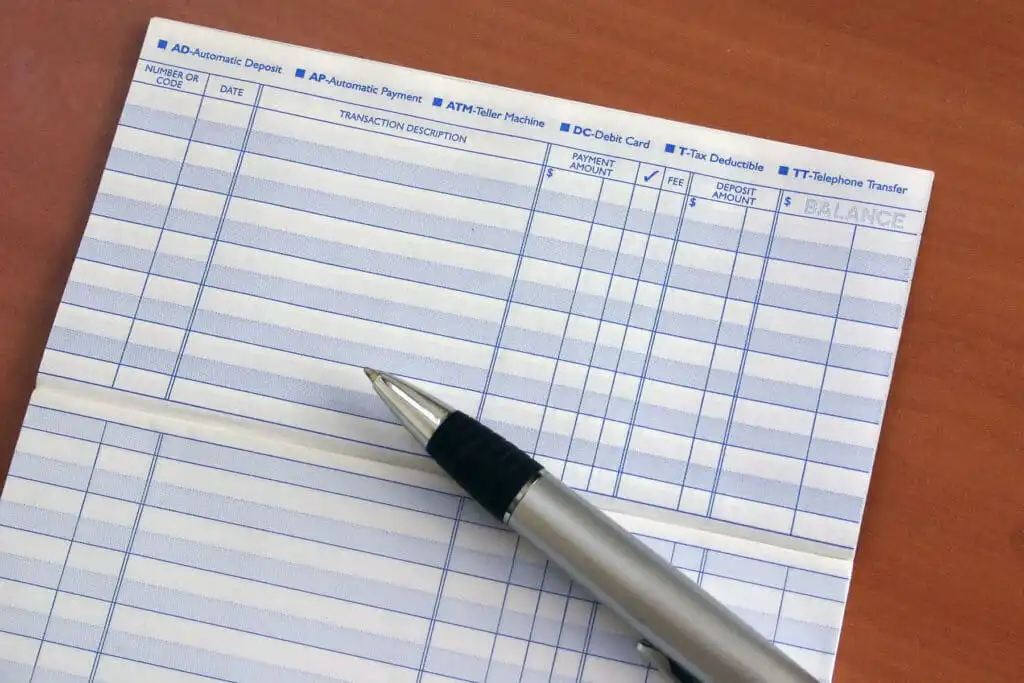
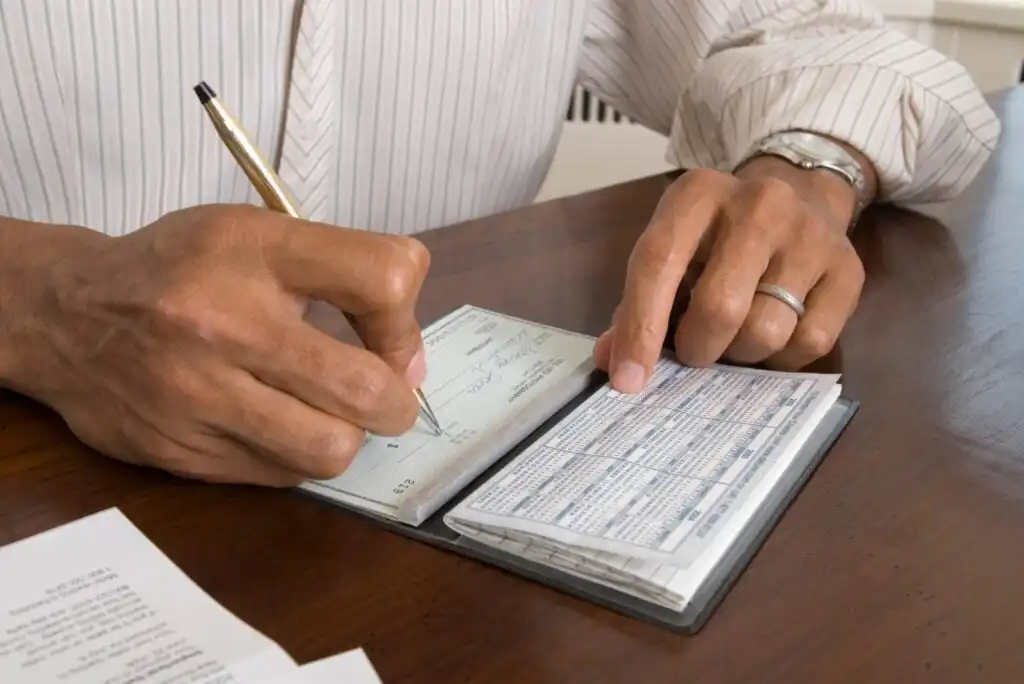
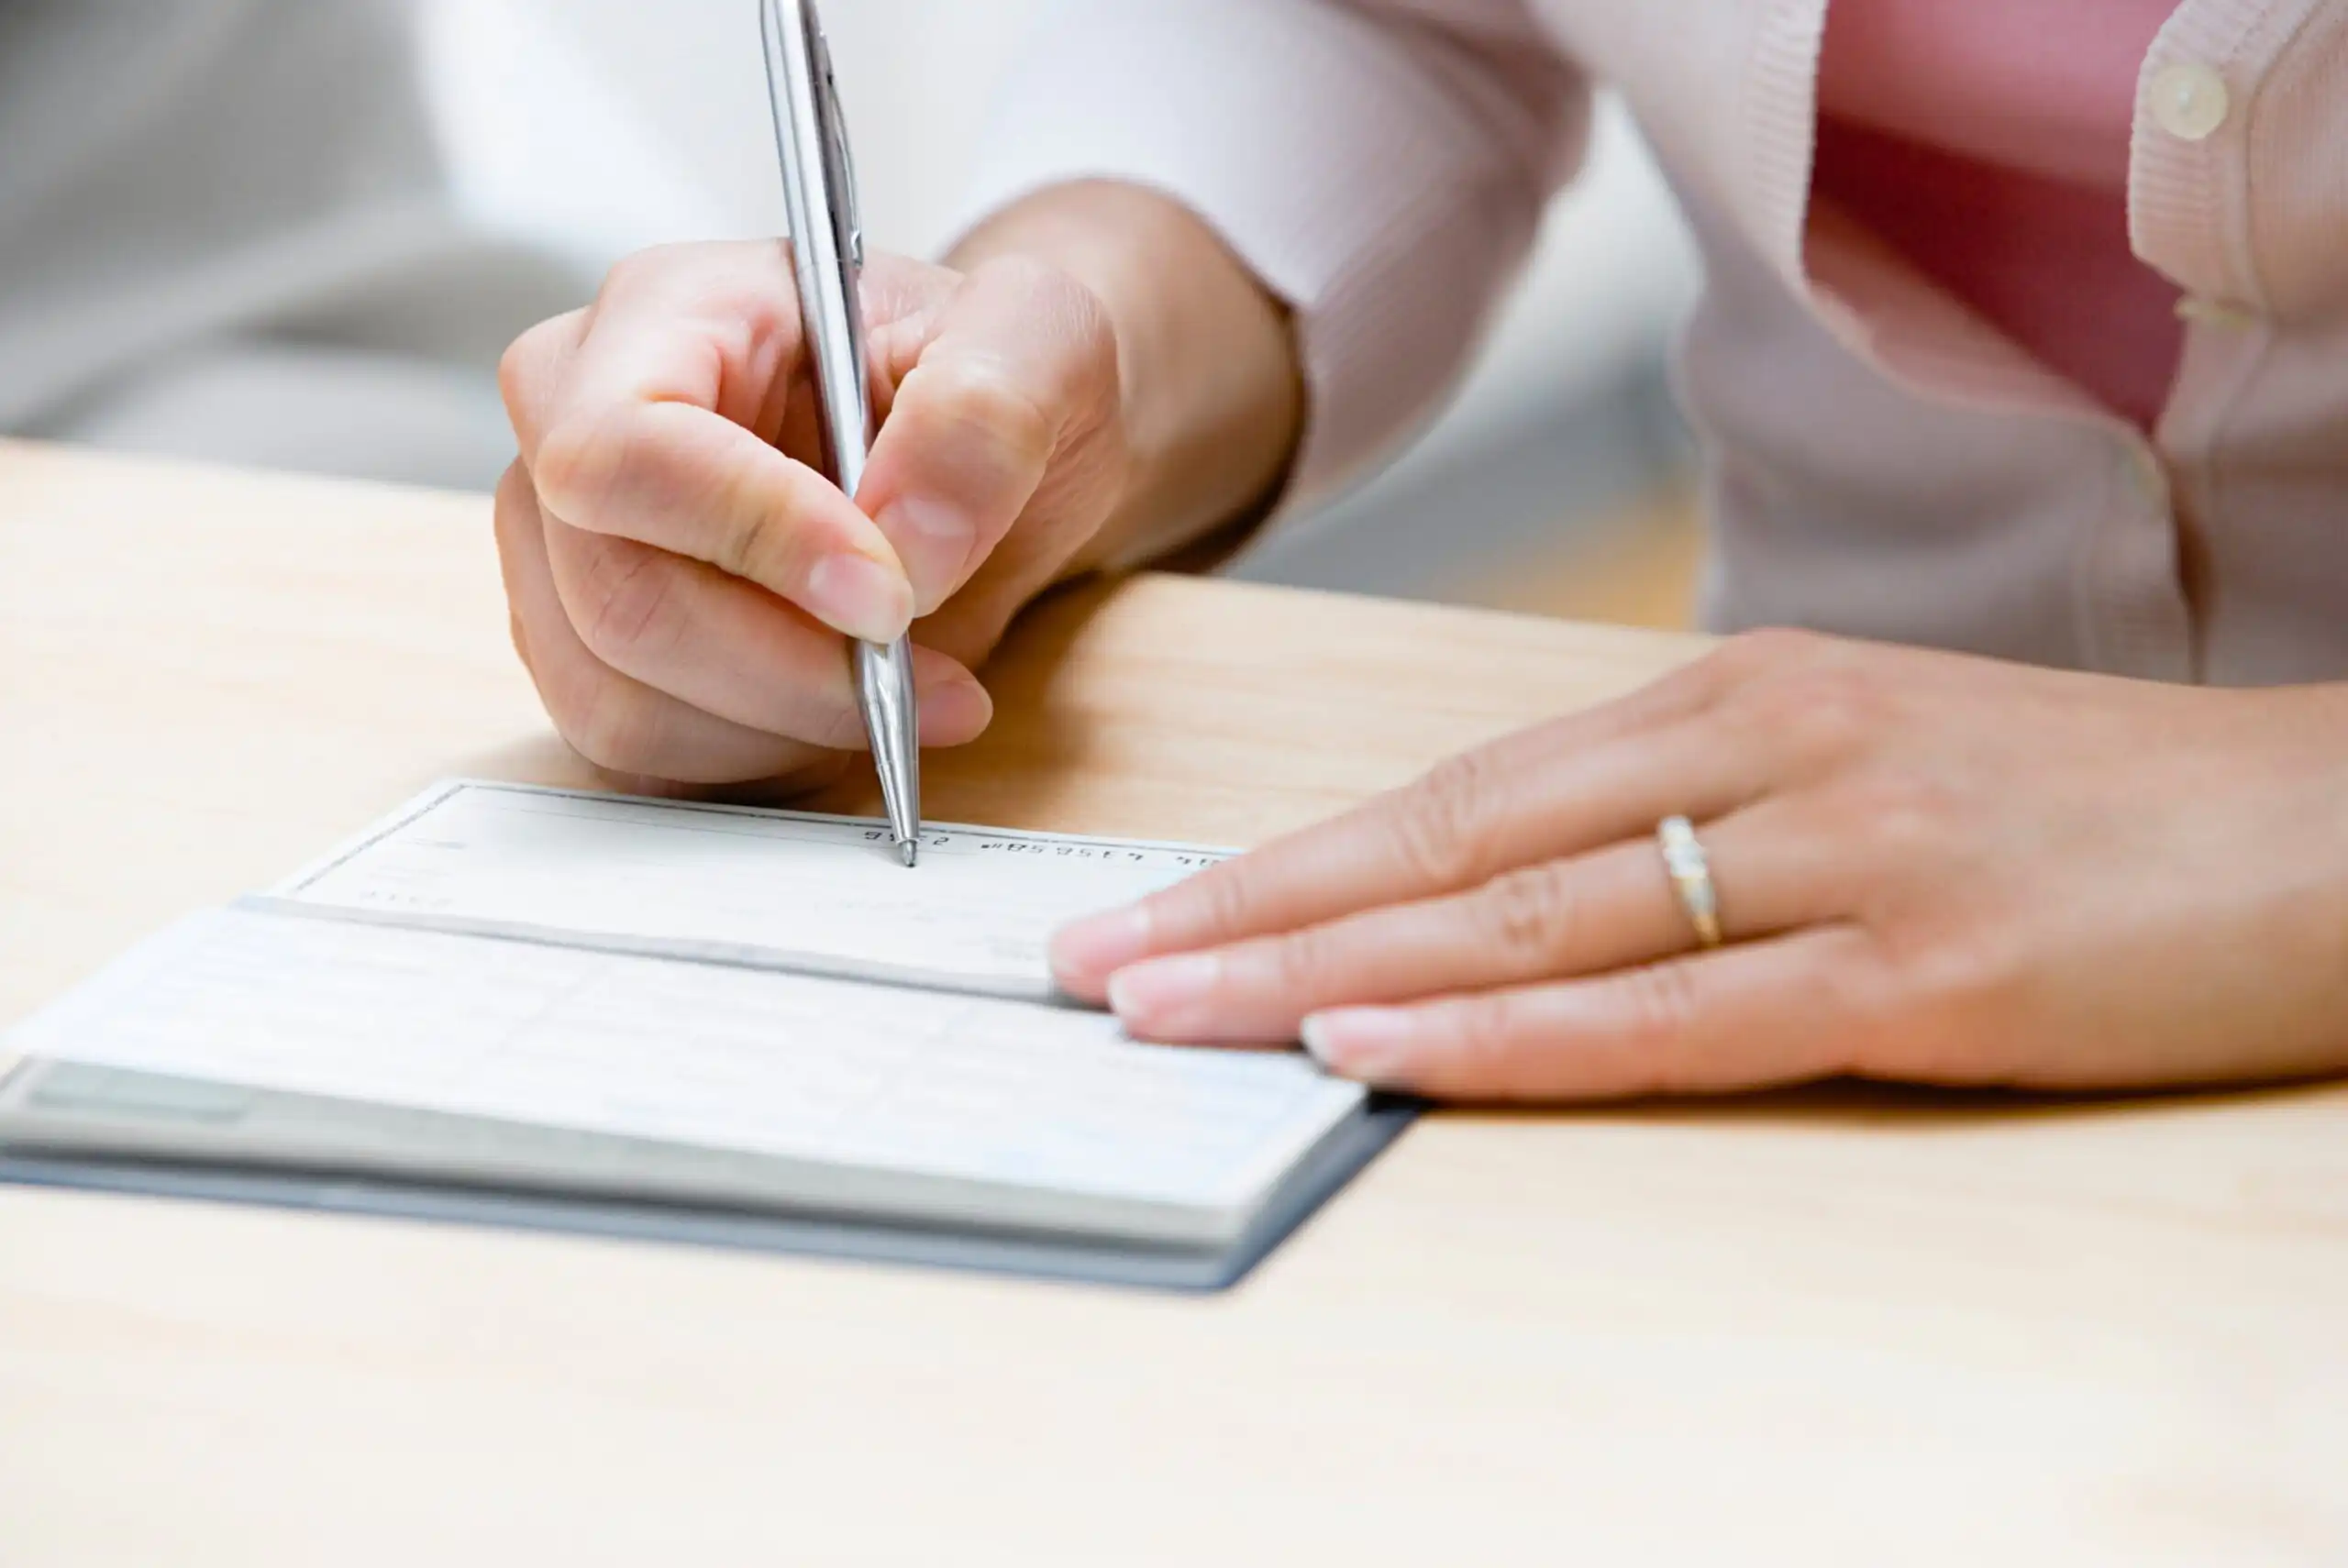
To protect against losing track of your balance and getting hit with an overdraft fee, you need to balance your checkbook — sometimes called a check register. You do this by manually recording every transaction, whether it’s a debit card purchase, writing a check, an automated payment, or a deposit.
How to Balance a Checkbook
Balancing your checkbook in today’s digital world may seem redundant, but it’s critical for two reasons.
First, balancing your checkbook helps you know exactly how much money you have remaining, including any pending or outstanding checks that haven’t been cashed or deposited yet.
Second, it allows you to spot inconsistencies that could be fraud.
These steps help you keep your checkbook balance up to date so you always know exactly how much money you have in your checking account and there are no unrecognized transactions. It also helps you track when a check clears your bank account.
Step 1: Collect Your Bank Statement
Some banks still mail out monthly bank statements around the end of the month, but many have switched to online statements only. If you no longer receive paper statements, log on to your online banking system and print out the current statement.
Step 2: Enter Earned Interest
If your checking account is an interest-bearing one, the bank will pay you interest on your balance each time it closes a monthly statement.
This interest payment is usually one of the last transactions on the statement. Enter the amount in your check register as you would any other transaction.
Step 3: Deduct Any Bank Fees and Add Reimbursements
If your bank charged you any service fees for writing checks, accessing out-of-network ATMs, or any other service, find these charges on your statement and record them in your check register. If your bank reimburses ATM fees, find these reimbursements on your statement and enter them as deposits in your check register.
Step 4: Verify All Deposits
Compare all deposits in your check register to those on your monthly statement. Put a checkmark next to all matching transactions in your check register and bank statement.
Make note of the dates, descriptions, and amounts of any deposits showing in your check register but not on your statement. These are known as outstanding deposits.
There may be a space on the back of your statement to note outstanding deposits. Note them for later.
Step 5: Verify All Check Payments
Compare all check payments in your check register to those on your monthly statement. Place a checkmark next to all matching check payments in your check register and bank account statement.
Step 6: Check for Previous Months’ Outstanding Items
Pull out previous statements with uncleared outstanding transactions, such as checks and deposits. Look through your statement to see if these outstanding items cleared on this statement.
If they have cleared in this statement, check them off on the outstanding transaction list and your current statement.
If an outstanding transaction hasn’t cleared your statement in 60 days, contact the person or company you paid to see if there is an issue. If the person or company lost or never received the check, call your bank to stop payment.
Step 7: Verify All Other Transactions
Compare all other transactions listed in your check register to those listed on your monthly statement. Such transactions include debit card purchases, automatic payments, ACHs, and ATM withdrawals.
Verify the amount you entered in the check register matches the debit amount on your statement. Place check marks on your check register and statement next to all matching transactions.
Note any discrepancies and take steps to resolve them. For example, if you see a higher-than-expected charge for a particular debit card transaction, contact the company to discuss why that’s the case. If there’s no resolution, contact your bank for assistance.
Step 8: List All Outstanding Debits
Make note of the dates, descriptions, and amounts of any check, debit, or ACH payments listed in your check register but not on your statement — the ones without checkmarks.
Save these outstanding check transactions for later. As with your outstanding payments, there may be a space on the back of your monthly statement to note these outstanding debits.
Step 9: Balance Your Checkbook
Note your statement ending balance from your current monthly statement. Add all your outstanding deposits to your statement ending balance, then subtract all outstanding debits. The resulting total should match your check register balance.
If there is a discrepancy between the two totals, you need to determine where the problem lies.
A Refresher on Entering Transactions Into Your Check Register
To manage your checkbook, you must enter all your transactions into the check register so you can come back to them later for review. A well-maintained check register makes it easier to balance your checkbook and spot errors.
Follow these steps to maintain a detailed check register:
- Enter your starting balance.
- Enter the date.
- Enter the check number if applicable.
- Enter the transaction description.
- Enter the payment or deposit amount.
- Calculate your updated balance.
- Clear the transaction.
For more detail, review our guide to writing a check and entering transactions into the check register.
Finding an Error in an Unbalanced Check Register
Sometimes, things just don’t balance out. This can happen due to a math error, a transposed number, an unrecorded transaction, or possibly a misapplied debit or credit.
Follow these steps to determine where the error is and how to proceed.
Step 1: Double-Check Your Outstanding Transactions
Run through your outstanding payments and debits and verify they are accurate. Maybe you missed a cleared transaction on your statement or thought you saw one clear your statement that actually hadn’t.
If you find a discrepancy here, make the necessary changes and rebalance your checkbook.
Step 2: Divide the Difference
If Step 1 doesn’t solve the issue, you can determine where errors may lie with simple division.
Compare your statement balance to your checkbook balance and subtract the smaller one from the larger one to get the difference. Divide this difference by 9. If the result is a round number — no decimals — then your issue is a transposed number. This means you accidentally mixed up the order of your numbers. For example, you wrote $154 as $145.
In this case, compare all your canceled checks and receipts to your check register to find the transposed number. Fix the transposed number and rebalance the checkbook register.
If it’s not a transposed number, divide the difference by 2. If the result is a standard dollar and cent number, such as 2.95 — not 2.956 — then search for that number in your checkbook register. You accidentally added it when you should have subtracted it or the other way around.
When you find this number and verify the math mistake, reverse it as needed and rebalance your check register.
Step 3: Contact Your Bank
If you still can’t find the problem with your checkbook being imbalanced, contact your bank for further assistance reconciling your checkbook. Perhaps there’s a discrepancy in a pending transaction or a hold on your account that you’re unaware of that’s preventing you from having a balanced checkbook.
Pen-and-Paper Alternatives
Does all this writing and manually adding and subtracting seem excessive in today’s digital world? Fortunately, there are ways around all this checkbook balancing using various apps and software that link directly to your bank account and help you track your balance.
Daily Check-Ins
You can avoid all the balancing at the end of the month by logging in to your online banking every day and clearing transactions from your check register.
Pick a time of the day when you’re free every day and log into your online banking. Compare your checkbook register to the day’s transactions and check off those that show as completed in your account. Leave and uncleared transactions in your check register unchecked.
Repeat this process every day. Recheck for any uncleared transactions to clear each day and check them off as they clear. If a transaction remains uncleared for 60 days, contact the person or company you paid to sort out the issue. If they are no help, contact your bank.
Financial Apps and Software
There is also no shortage of financial apps and software to help with balancing your checkbook. As an added benefit, they can help with your budgeting too.
Apps like Mint, Personal Capital, You Need A Budget (YNAB), and others link with your checking account and track your transactions. You often must log in and categorize these transactions, which will be the perfect time to also check these transactions off in your check register.
Final Word
Though we live in a world where so much is automated, there’s still a need for manual work to ensure everything is correct. This is no more evident than in balancing a checkbook. Yes, our online banking apps and websites track our transactions, but some transactions take time to post.
If you miss this transaction and fail to balance your checkbook at the end of the month, you could overdraft your bank account and end up with a large overdraft fee.
If one large balance each month isn’t something you’re comfortable with, daily check-ins through your bank or personal finance app may be a better solution.
Editorial & Advertiser Disclosure: The editorial content on this website is not provided, commissioned, reviewed, approved, or otherwise endorsed by any advertiser. Opinions expressed are ours alone, not those of any advertiser. The offers that appear are from companies from which we may receive compensation. However, this compensation does not impact where and how these companies are mentioned on the site. We do not include all companies or all available offers in the marketplace.
Related: