Finishing your basement is one of the easiest ways to expand your home’s habitable square footage without expanding its footprint.
It’s also one of the more expensive home improvement projects you can undertake, especially when your vision for the space includes a full-scale mother-in-law suite with a spare bedroom, full bathroom, and kitchen.
If you’ve thought at all about finishing your basement, you’ve assuredly contemplated the project’s cost. Whether that cost is enough to give you cold feet depends on the current size and state of your home’s living quarters, the condition of your basement, and the expansiveness of your vision — the last of which is a direct predictor of the project’s likely cost.
Only you can make a final determination as to whether you should remodel your basement. For some, the expense and effort are worth enduring to create a new space for themselves and their guests to enjoy. But before you can decide, you need more details on what’s involved in a typical basement remodel and what’s required of you to ensure the project’s success.
Essential Elements of a Finished Basement
Any habitable finished basement needs to be safe, climate-controlled, and comfortable. The following elements are prerequisites for those conditions.
Where possible, reasonable price ranges accompany project descriptions. Unless otherwise noted, these ranges are generated using open-source information from HomeAdvisor or Homewyse. However, home improvement project pricing is always variable. Exactly how much each project costs and how much time it takes to complete depend on your basement’s initial condition and your vision for the finished product. For a more accurate estimation of your own likely project costs for both DIY and professional work, use Homewyse’s handy installation cost calculator.
Safe Ingress & Egress
In its prefinished state, you might access your basement by one or more of these means:
- Descending an interior staircase
- Descending open exterior steps to a garden entrance
- If the house is built on a slope, entering at ground level through a back door
- Opening a secure exterior hatch and descending a steep staircase or ladder to a door in the foundation wall
If these methods of access aren’t safe for your family and guests, improving them is one of your first orders of business. Common access improvements include:
- Interior Staircase Railings or Guards. If this is all you need to do to ensure safe basement access, consider yourself lucky. If you don’t own them, check out or rent a multidirectional saw, power drill, and sawhorse from your local tool-lending library or home improvement store. Then, purchase the supplies you’ll need: a 1-inch diameter pole of sufficient length, wood screws, and metal supports. Expect to spend no more than $200 on this project, probably less.
- New Swinging or Sliding Door. Unless you’ve replaced your exterior basement door recently or it’s in excellent shape, you may need to replace it with a quality product that can handle higher traffic. With professional installation, which is highly recommended, expect this project to cost anywhere from about $500 to about $1,500 — perhaps more, depending on your choice of door.
- Egress Window. If you plan to add a legal bedroom to a finished basement that’s entirely below-grade, you must ensure overnight occupants can safely exit the space in an emergency. An egress window large enough to allow safe passage is your most cost-effective option. Because it involves removing a portion of the foundation wall, you must hire a professional to do this project. Expect the final installed cost to exceed $1,500 per standard-size window and top $2,500 for larger windows. If you already have an egress in place, expect to pay $300 to $900 per window.
- Upstairs Entry. If ensuring separate exterior entry to your finished basement is critical (for example, because you plan to rent the place out), adding a new door frame, door, and entryway to an exterior wall upstairs is a better option than excavating an at-grade entrance. Since it involves modifying a structural wall, this project requires professional assistance. Expect to pay at least $2,000 and possibly more than $5,000, including the door’s cost.
Radon Mitigation
Radon is a naturally occurring radioactive gas caused by the breakdown of subsoil uranium. It’s known to seep through foundation walls and pool in basements and first floors. Prolonged exposure correlates with higher lung cancer risk in both smokers and nonsmokers.
To find out if your basement has concerning levels of radon, purchase a home testing kit. You can buy these online or in your local hardware store for $15 or $20. According to the Environmental Protection Agency, if the test reveals radon levels above 4 picocuries per liter, the threshold at which chronic radon exposure is regarded as a significant health risk, you must take mitigation precautions. They also suggest mitigation for radon levels between 2 and 4 picocuries per liter. They generally consider under 2 picocuries per liter safe for long-term exposure, as that’s a normal level and may be difficult to reduce any further.
Radon mitigation isn’t inordinately expensive considering the possible long-term consequences of inaction. It’s a sound investment in your family’s future. Expect to pay $500 to $3,000 for a negative pressure system that reduces radon levels as long as it’s running.
Climate Control
A finished basement needs reliable heating and cooling. Exactly how much you need to invest in HVAC upgrades — if anything — depends on your local climate and how well insulated your basement is to begin with.
Most unfinished basements lack floor-to-ceiling interior insulation. The foundation wall does have insulating potential, but not the sort needed in a finished space. A sloping lot lessens that potential further because one entire wall and portions of two more may be exposed to the elements. Therefore, it’s all but sure you need to include insulation expenses in your total basement finishing costs. Depending on the space’s current state, you might consider asking your HVAC contractor what they’d recommend in terms of insulation before attempting to insulate unfinished walls yourself.
As far as HVAC goes, the primary determinants of your basement’s climate control needs are daily and seasonal temperature variations. If you live in an area with sharp seasonal or daily contrasts, extending your home’s ductwork or radiator network into the basement is probably inevitable — despite the natural insulating power of your foundation and the surrounding earth, cold seeps through the basement’s windows and down from the first floor.
That isn’t a project you should attempt on your own, and it’s not cheap. With installation, expect to pay anywhere from $1,000 to $5,000 for duct coverage throughout your basement, depending on the space’s size. Unless you already have a good HVAC company to do the work, you’ll need to find a company you can trust. Start your search with HomeAdvisor. They have fully vetted contractors so you can easily choose a reputable one in your area.
In milder climates, electric radiator heating or even space heaters (probably one for each room) might be sufficient. Expect electric radiator heating to cost between $300 and $1,000 per unit with installation, though lower-power units on the cheaper end of this range should be sufficient in most cases. Space heaters are even less expensive and entirely DIYable — just visit your local home improvement store or buy online and then plug in the units when they arrive. Small, budget-friendly heaters start under $30, but expect to pay at least $100 for a high-output space heater capable of keeping an entire subterranean room comfortable in winter.
Moisture Mitigation & Drainage
Your basement is almost certainly wetter than your home’s above-ground floors. How wet is the big question — and a significant driver of your project’s overall cost. While you probably have a good sense of how wet your basement gets in each season and in response to heavy weather events, it’s never a bad idea to get two (or more) professional opinions from contractors specializing in basement moisture mitigation. The issue could be more or less severe than it appears to your untrained eye.
In rough order of cost and invasiveness, your options for mitigating basement moisture include:
- Portable Dehumidifiers. If a device is all that’s required to keep humidity at bay, consider yourself lucky. High-capacity dehumidifiers cost $150 to $300 or more. In a typical basement, one is probably sufficient. Get two if the basement is larger, divided into many rooms, or very humid.
- Masonry Waterproofing. You should waterproof whether or not you move forward with the rest of your basement remodel. It’s easy to do on your own. To seal the interior, use a quick-drying cement mixture to patch cracks or holes in the foundation wall, then apply at least one coat of waterproofing paint (I’ve used the DryLok brand with good results). Outside, use quick-bonding cement (ask a hardware store clerk for recommendations) to seal the exterior wall down to the ground level. Return a few days later to apply a second layer. Depending on the foundation wall’s condition and extent, the entire project shouldn’t cost more than $200 to $300 to do on your own. For larger jobs, you’re easily looking at $1,000 or more to hire a professional.
- Improve Exterior Drainage. Drainage improvement could be as simple as cleaning your gutters regularly and extending downspouts at least 10 feet from your house. Both are quick projects you can do yourself (though second-story gutter cleaning is better left to professionals, given the risk of injury). Professional gutter cleaning shouldn’t cost more than $200 per visit for an average-size house, and many companies run seasonal specials that drop the price per visit below $100. Extending downspouts yourself could cost anywhere from $10 to more than $50 for the materials and perhaps $100 to $200 if you hire a handyperson. If your property has a negative grade — meaning a backslope toward your house — it’s likely to require a professionally installed drainage system, such as a French drain. That’s likely to set you back a minimum of $1,500 to $2,000 (assuming two drains and an average installed cost between $10 and $20 per linear foot). Expect to pay more like $5,000 to $10,000 for a more extensive project on a larger property.
- Sump Pump and Drain Tile. If any combination of the above isn’t enough to prevent your basement from flooding in heavy rain or snowmelt, a more drastic solution is needed. Installing a drainage trench and sump pump can easily cost more than $10,000. Expect to pay at least $3,000 for a single wall or wall segment of significant length and at least $10,000 if the entire perimeter needs coverage. It’s a serious project you must hire a professional to do. Unfortunately, it could be a necessary prerequisite.
Adequate Lighting & Wiring
In combination with any natural light it receives during the daytime, your unfinished basement’s current lighting might be suitable for doing laundry, putting belongings in storage, and checking the breaker box. But it’s probably not adequate for regular work or leisure use at all hours. An unfinished basement also doesn’t have anywhere near the number of outlets needed in a modern living space.
Before your basement project begins in earnest, determine the location of each outlet and light fixture you plan to add. Your electrician, if you use one, can always modify your initial plan. Your goal here is to neither overwire nor underwire your basement for its expected use.
Adding new wiring is technically DIYable, but the degree of difficulty is high and the risk of electrocution ever-present. You’re better off hiring a professional electrician you trust to do the work right, even if it means paying more. That will add time to your project since you’ll almost certainly need to pull a permit for the work and have the new wiring inspected and approved before finishing the space’s walls, ceilings, and doors. The silver lining is the relatively low cost of wiring an unfinished space with no walls or ceilings in the way. Still, if it includes new lighting and fixtures, this project’s price tag could range as high as $7,000 — though $1,000 or $2,000 is more typical for a smaller space.
Higher-intensity uses, such as a kitchen, naturally require more wiring. Adding a new electrical panel — a necessary step if your current breaker box is full or nearly so — adds at least $500 to the total project cost and must be done by a professional.
Finished Walls, Ceilings, & Doors
It’s technically possible to roughly finish an open-plan basement in milder climates without buttressing the foundation walls or adding new interior walls and doors. But concrete walls aren’t nearly as attractive or comfortable as painted, insulated drywall, and an entirely open floorplan (complete with exposed utilities) isn’t conducive to multiple uses.
Assuming no structural modifications are required, most or all of this work is within a capable homeowner’s powers:
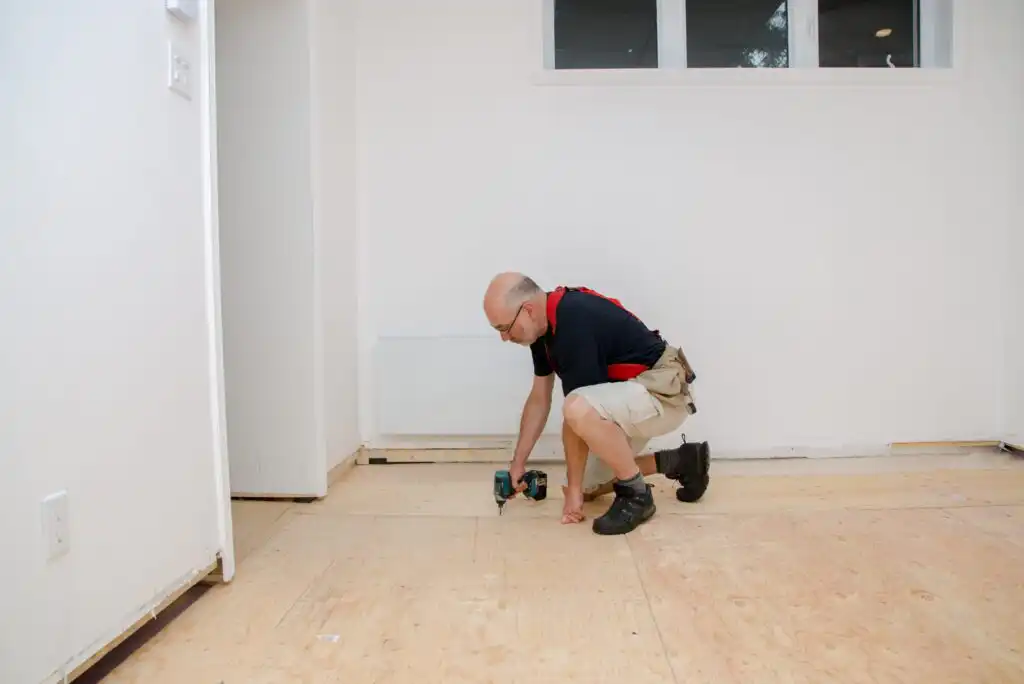
- Adding Finished Walls. This project requires some light carpentry and a lot of elbow grease. You’ll need two-by-fours for framing, plenty of roll-on or spray insulation for exterior segments, drywall, paint and primer, and tools. A nail gun is helpful but not essential, and you can rent or borrow one to control costs. Depending on the number and length of your walls, expect to pay $500 to $1,500 to do the work yourself and at least $2,000 to hire a professional
- Adding Doors and Trim. Installing doors and trim is painstaking work and may be worth hiring a professional for. Expect to pay $600 to $1,200 per door with professional installation, plus $1 to $4 per linear foot for trim.
- Adding a Drop Ceiling. This project isn’t strictly essential, but it’s useful for concealing wiring, plumbing, ductwork, and other eyesores. HomeAdvisor gives a reliable overview of the process and costs for DIYers. Expect to pay $500 to $1,000 to do the work yourself and at least $1,500 to $2,000 for a professional.
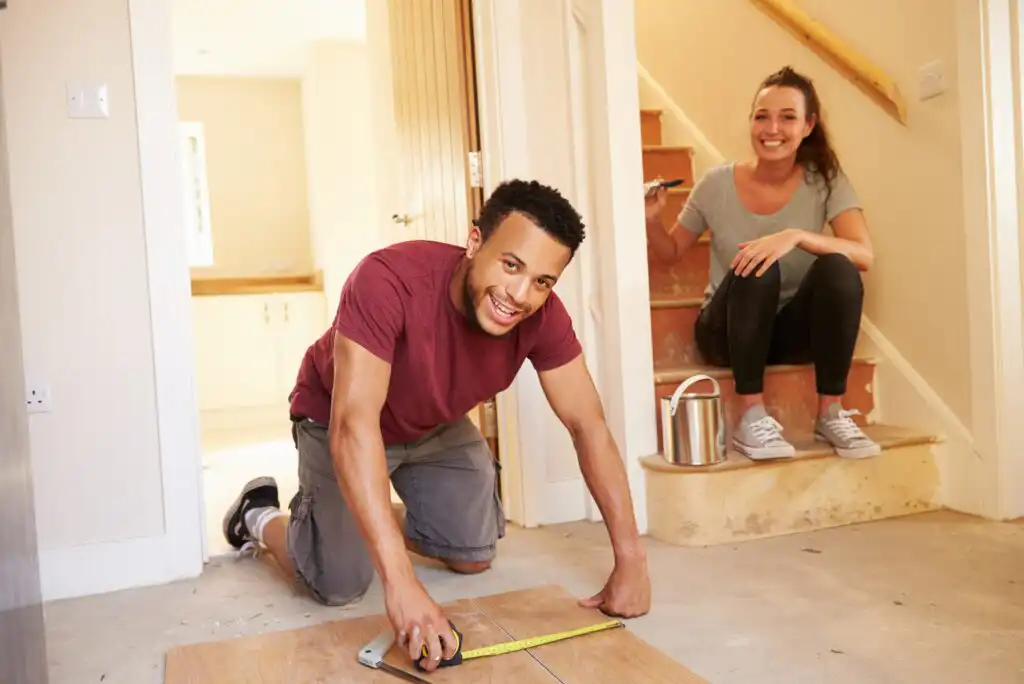
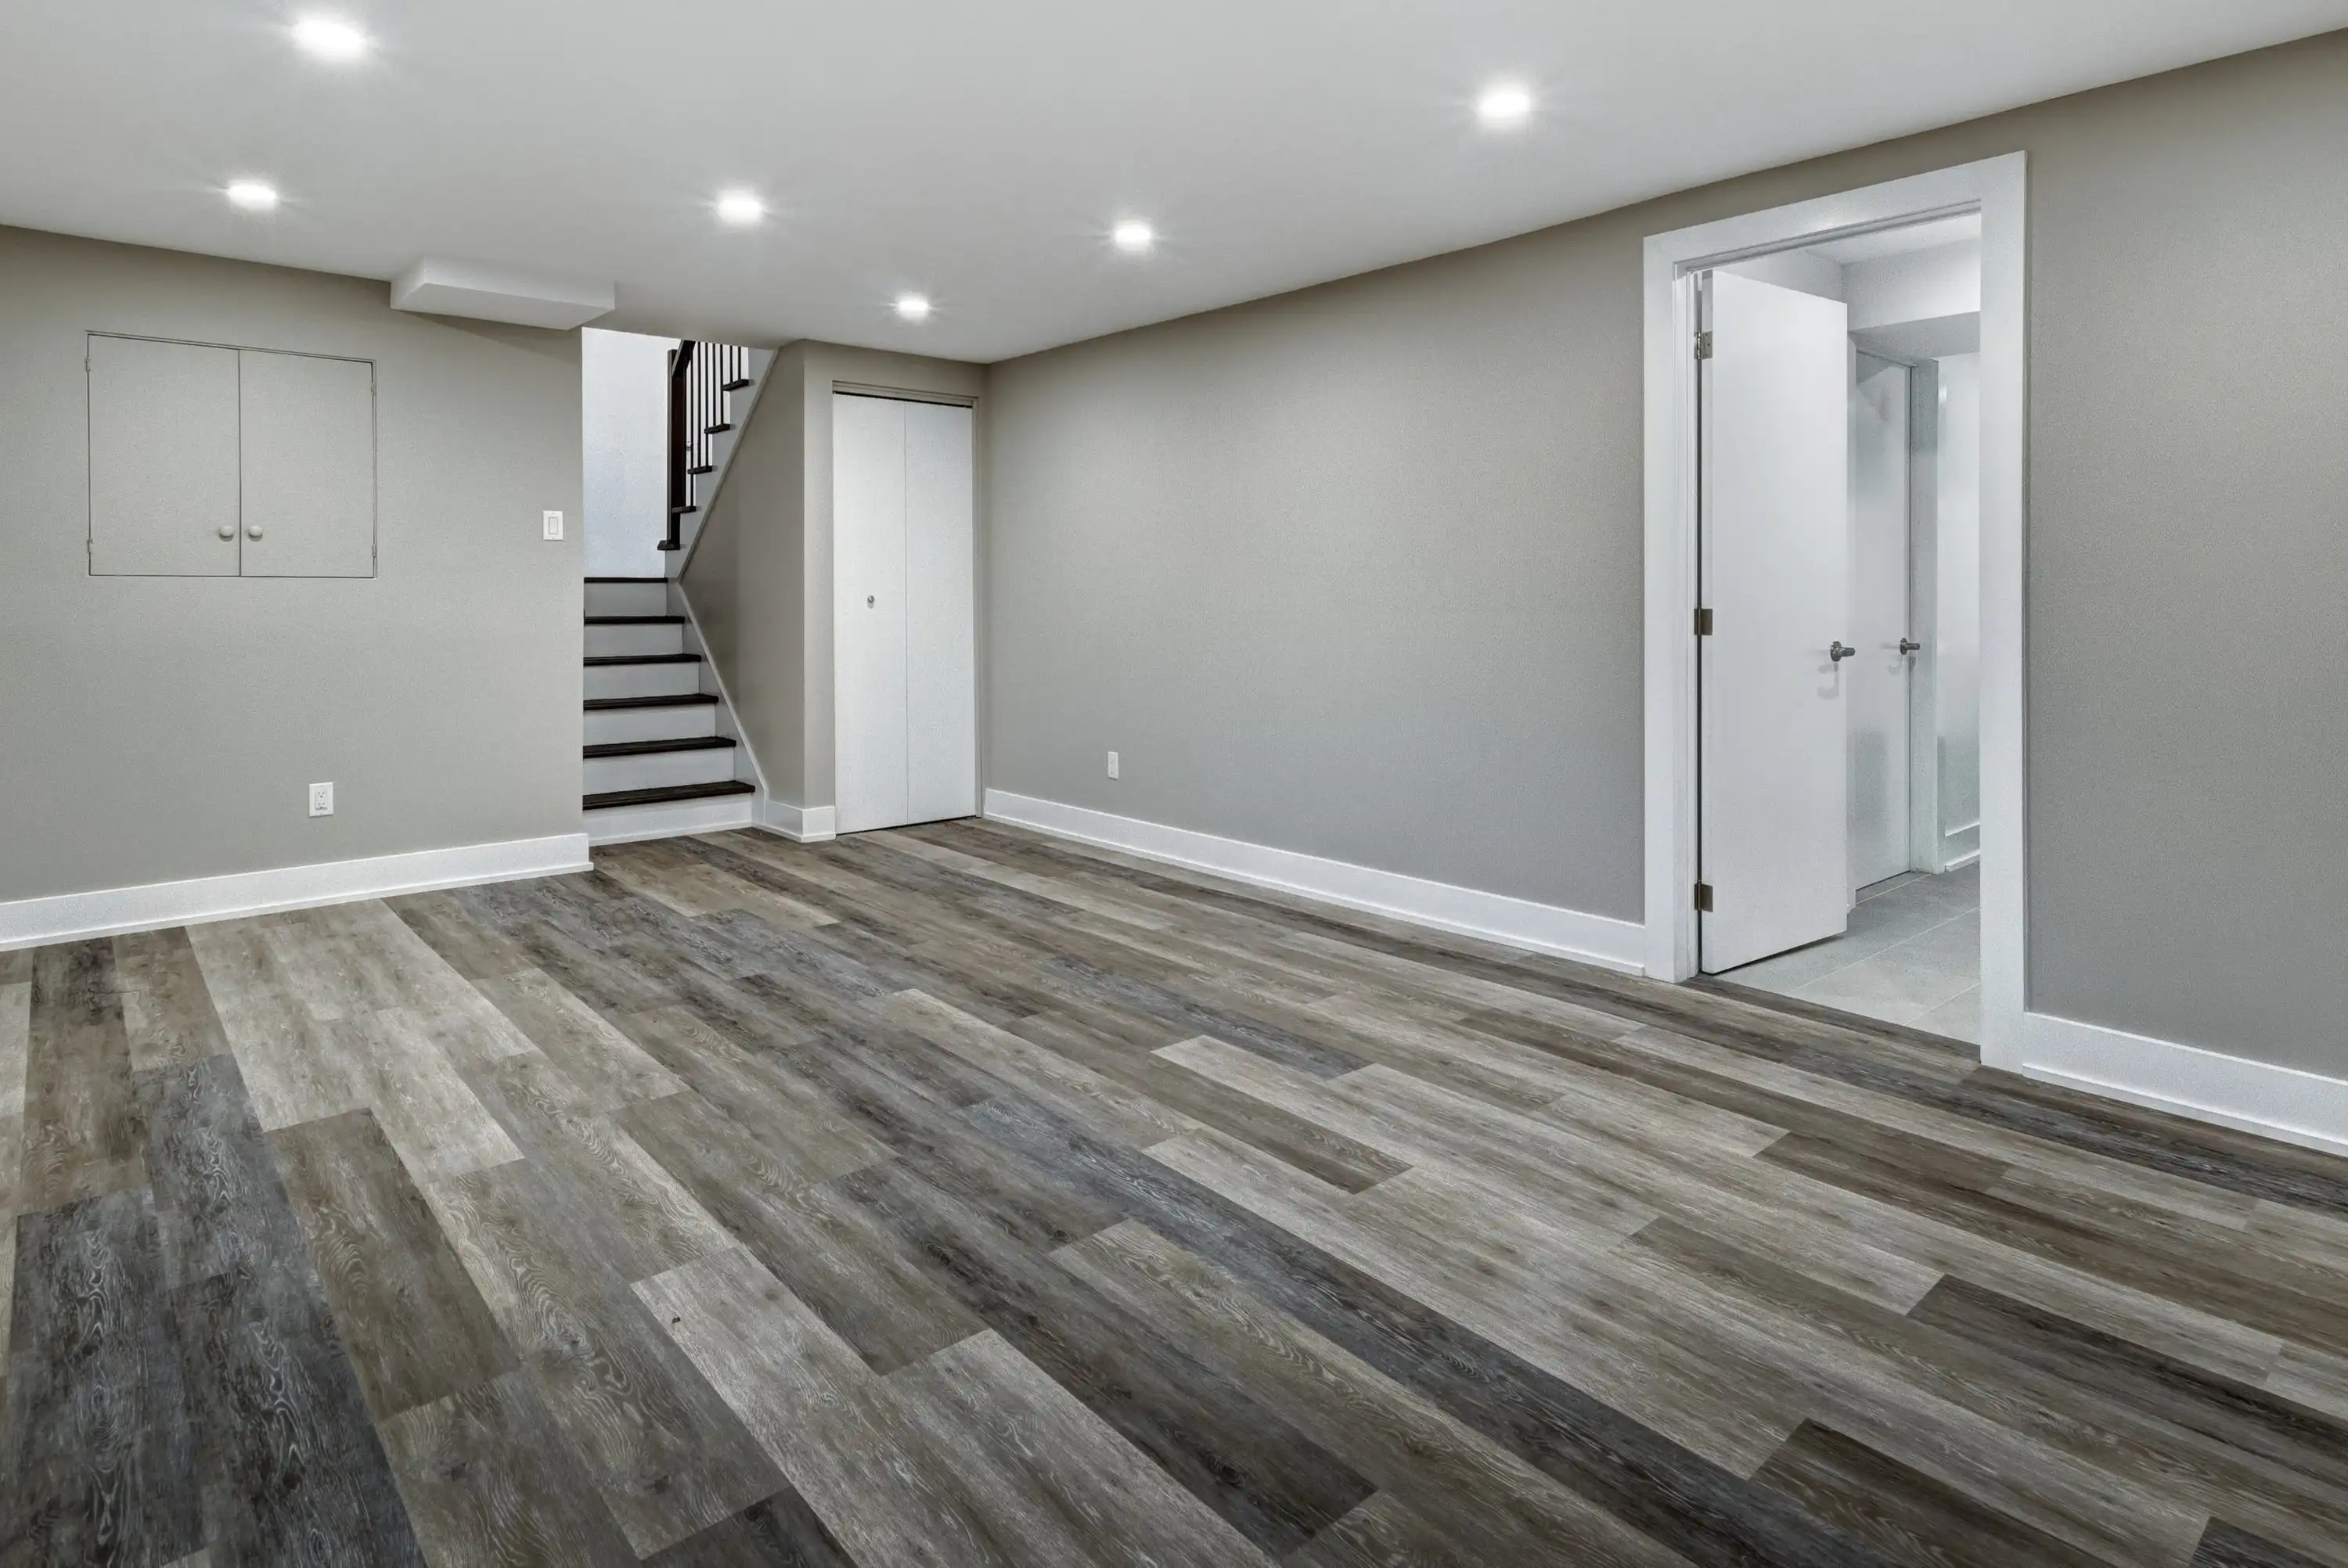
Finished Flooring
Most unfinished basements have rough concrete floors. While there’s nothing inherently wrong with plain concrete, it doesn’t look nice, and it’s certainly not pleasant to sit on. A comfortable finished basement demands something more — and something water-resistant, given the location.
With the right material, it’s relatively easy to install flooring yourself. You can also level a rough concrete floor with a self-leveling compound. Depending on the extent of the area to be leveled, you’ll need anywhere from one to more than five 50-pound bags at $25 to $30 apiece.
Finished flooring pricing ranges from well under $2 per square foot for self-installed laminate and sheet vinyl to upward of $4 per square foot for high-quality luxury vinyl plank and tile, with professional installation running three to four times the self-installed price The easiest types of water-resistant finished flooring for amateurs to install include:
- Luxury Vinyl Plank. This low- to moderate-cost option resembles hardwood. It’s not an eco-friendly option, but the interlocking boards are easy to install on rough concrete subfloors. Control costs by selecting a thinner plank (8 to 10 millimeters or less).
- Luxury Vinyl Tile. If you’re after the appearance of tile without the painstaking installation, this is your best DIY option. Again, choose a thinner tile to keep costs down.
- Sheet Vinyl. Durable, cheap, and forgiving of rough subfloors, sheet vinyl is the most cost-effective option when appearance isn’t paramount.
- Laminate. Laminate is another easy-to-install option with varieties resembling hardwood, tile, and stone. It’s not ideal for rough subfloors, so you may want to stick with vinyl over concrete. Laminate also wears out quickly in high-traffic areas. The upside: low-cost options abound.
Furniture
For most basement remodelers, selecting furniture for the space is likely to be the most enjoyable to-do on the essentials list. It’s also entirely DIYable, with the possible exception of professional delivery for bulky pieces like sofas, beds, and sectionals. It’s also easy to do on the cheap in a vibrant secondhand market supported by digital resale platforms like Craigslist, Nextdoor, Facebook Marketplace, OfferUp, and Letgo.
Your finished basement’s design and purpose guide your furnishing choices. If it’s primarily a space for entertaining and hanging out, you won’t need much: perhaps a couch, a coffee table, and a comfortable chair or two, plus smaller folding chairs to bring out while hosting. Furnishing a small entertainment area on the cheap (with secondhand furniture) might cost as little as $200 to $300. Then again, in a space built for multiple guests, a new faux-leather sectional couch could easily set you back $2,000 to $3,000 or more.
A more extensive multipurpose remodel might require a bed or futon, tables and chairs for a kitchen eating area, office furniture for a new home office, or all of the above — another $1,000 to $2,000 investment if you buy new.
Control costs by including every piece of necessary furniture in your initial design and taking your time to find good deals on appropriate pieces. Last-minute or piecemeal furniture shopping is likely to raise your final furnishing bill.
Nice-to-Have Elements of a Finished Basement
Now that the essentials are out of the way, the fun part begins: turning your basement into an extension of your home’s living area, a place where you want to spend long periods. None of these improvements is strictly essential, but most finished basements include some or all of these elements.
Entertainment
You might devote your finished space to a home office or exercise gym, but entertainment amenities are very common in finished basements. Depending on your hobbies and budget, yours could include:
- A TV with a cable box or streaming capabilities
- Table games, such as foosball and billiards
- Novelties like arcade games
- A video game setup with the consoles and accessories of your choice
- A stereo system
- A built-in bar or wet bar
As for the entertainment itself, the sky’s the limit. A basic smart TV setup costs $300 to $500 upfront. A regular TV plus a streaming device will set you back around $150 to $300, depending on which streaming device you choose. A decked-out rec room with billiards, arcade games, stereo, wet bar, and video games could cost well over $2,000.
Bathroom
A bathroom is another just-short-of-essential finished basement amenity. If you plan to use the basement primarily for work or exercise and don’t mind going upstairs when nature calls, you can safely avoid the expense. Otherwise, you need one for your family and guests.
A powder room (half-bath) is the cheapest option and probably all that’s required in the absence of a downstairs bedroom.
Adding new plumbing for a toilet and sink generally requires a professional (unless you’re unusually handy) and costs anywhere from about $800 to $2,000, assuming existing water and drainage lines nearby. Tile flooring is tricky for amateurs, as well, though it’s DIYable for patient, painstaking types. Expect to pay $5 to $10 per square foot for self-installed tile and $8 to $20 per square foot (or more) for professionally installed tile. If you’re intent on doing it yourself, extend your self-installed waterproof vinyl floor into the bathroom and cut your labor costs by at least $5 per square foot after factoring in the likely lower cost of vinyl flooring.
You might be able to do the rest of the work yourself, spending anywhere from $400 to more than $1,000 for a toilet, sink basin, and accessories like towel racks, depending on finish quality. All told, you’re looking at an outlay of $1,000 to $2,000 (not including professional plumbing services) for a basic project done entirely on your own or about $3,000 to $7,000 with expert help and nice finishes.
Shower or Bath
If you plan to turn your basement into an income-producing standalone unit — a mother-in-law suite — you need to upgrade to a three-quarter or full bath.
The difference: a three-quarter bath has a standing shower, while a full bath has a tub. You should have a professional plumber do the plumbing hookups. Tilework is tricky to DIY too and generally requires a sturdy frame that’s beyond the capability of even the handiest homeowners to construct safely. Expect to pay at least $1,500 for a basic professionally installed three-quarter bath and closer to $3,000 to $10,000 for one with higher-end finishes.
Your best three-quarter bath alternative is a prefabricated standing shower kit — the Dreamline brand, available at Lowe’s, is representative of what’s out there. Expect to pay $400 to nearly $1,000 for the stall plus $200 to $400 more for waterproofing materials and shower fixtures (the controls and head), assuming professional installation. For a full bath, choose a tub and shower kit. They’re a bit more expensive than standalone showers, but not by much — about $1,000 to $1,500 with installation. The Home Depot inventory page can help set your expectations for budget planning.
Carpeting
Carpeting is not a finished basement essential. But it’s soft, comfortable, and insulating, which makes it ideal for leisure zones — kids’ playrooms and adult hangouts.
Unfortunately, carpeting is surprisingly difficult to install. While it’s technically possible to DIY, it’s smarter to leave it to the professionals. Improperly installed tacking (the strips that keep carpet earthbound) can seriously damage the subfloor, requiring costly repair. It’s also not appropriate in very moist basements, even with professionally installed water mitigation systems. Rugs thrown over waterproof vinyl or laminate flooring (or even the unfinished concrete) are more appropriate in such spaces.
The silver lining (if there is one): Carpeting’s installed cost comes in at the lower end of the floor covering spectrum, and installers are almost always amenable to negotiation. My wife and I paid less than $5 per square foot, including the cost of the carpet itself, to professionally carpet our basement, significantly less than the advertised price. To be safe, budget $10 per square foot with installation.
Kitchen or Kitchenette
A full kitchen with a gas range and dishwasher is a costly and unnecessary addition to finished basements not designed for long-term residents. Even a modestly sized kitchen with basic fixtures, laminate countertops, low-key cabinets, and cheap appliances costs upward of $10,000 with professional installation (and is not a suitable DIY project for the vast majority of homeowners).
A kitchenette — perhaps a wet bar with a modest amount of counter space, lower cabinets, minifridge, dining nook, and countertop cooking appliances — is a more reasonable investment for casual users. But it’s one that almost certainly requires professional installation. Expect to pay at least $3,000 to add a kitchenette to your basement.
Planning & Budgeting Your Finished Basement
Before you begin your basement finishing project, you need to lay out a detailed vision for the space, a start-to-finish budget, and a granular plan of attack. Consider the following:
- What You Want From Your Finished Basement. There’s no right or wrong answer here. You might have a specific need you can’t fill above-ground, such as creating a multipurpose play space for kids or entertainment room for adults. Perhaps you have a vaguer goal, such as increasing your home’s finished square footage. In either case, steer clear of home improvements that don’t increase resale value and focus on practical improvements that add enjoyment and value: finished flooring, comfortable furniture, or a half-bath, for example.
- How You Plan to Pay for or Finance the Project. After arriving at a rough estimate of the project’s total cost, determine how much you can afford to pay out of pocket without touching your emergency savings fund or retirement accounts. You’ll need to make up the difference, if any, preferably through low-cost financing options like a home equity loan or line of credit through Figure.com. You can also choose to use a personal loan.
- DIY Potential and Permitting Requirements. The former depends on your DIY skill and comfort. The latter depends on municipal building codes in your city or county. Knowing when to call a professional and when to pull permits are vital to ensuring the project is done right — without necessitating costly, time-consuming remediation.
- The Project’s Timeframe and Order of Work. Before beginning any serious work, you should have a reasonable sense of how long the project will take and in what order it’ll come together. Because you’ll be at the mercy of your contractors’ or DIY helpers’ schedules to some degree, you should be prepared not to finish right on time and to move project components around for efficiency’s sake.
Using Contractors & Subcontractors for Your Finished Basement
Most basement finishing projects require at least some professional help. Finding the right people for the job is trickier than it might seem. Managing contractors and subcontractors once they’re on the job is no walk in the park either. Your ability to stay on top of the professionals you’ve hired directly affects your project’s completion time and final cost.
When Should You Hire a Professional to Help Finish Your Basement?
Certain basement finishing projects are too complex or dangerous to undertake on your own. Unless you have professional experience, it’s worth the money to hire professional help for any project that involves:
- Adding or modifying electrical wiring
- Adding or modifying clean water or gas pipes
- Constructing or installing a new bath or shower stall
- Adding in-floor interior or in-ground exterior drainage
- Radon mitigation
- Carpeting
- Installing finished cabinetry and countertops
- Installing new ductwork
- Structural wall modifications for safe or convenient egress
- Hanging new exterior windows
Depending on your comfort and skill with DIY projects of moderate to high difficulty, you should strongly consider hiring a professional for projects involving:
- New tilework
- Installing new walls or ceilings
- Hanging new doors (interior or exterior)
- Installing new plumbing finishes, such as a toilet or sink
Follow these steps to find, vet, hire, and manage quality contractors for your basement project(s):
- Start With a Home Improvement Supersite. Begin your search with a home improvement clearinghouse like HomeAdvisor or Angie’s List. Both have easy-to-use workflows that direct you to professionals suited to complete your project based on a detailed description.
- Ask Friends and Neighbors for Input. Next, turn to Nextdoor for input from homeowners who’ve worked with each contractor you’re considering. You can write a public post asking for input. Also ask for neighbors’ contractor recommendations, which could alert you to smaller outfits or individuals not visible on Angie’s List or HomeAdvisor. Comb through contractor reviews on Yelp and Facebook as well.
- Get Multiple Bids. Solicit at least three bids for each job you intend to delegate to a professional. It’s worth the time and effort, as the gap between high and low bids for major home improvement work is often shockingly wide. I’ve personally seen 50% spreads — meaning many thousands of dollars on a big project. Don’t pay for bids unless the work is extremely urgent (such as breaking a water pipe while knocking out a wall), requires an engineer, or involves extensive site measurements (which is standard for kitchen bids).
- Negotiate. More often than not, all that’s needed to drop your final project price by 10% or more is the suggestion that a rival bid came in lower, paired with a reasonable counteroffer (say, 10% to 15% lower than the initial offer).
- Do the DIY Work While You Wait. Once prerequisite work like drainage and new electrical wiring is out of the way, complete DIY projects as you’re able before and between projects that require professional assistance. Otherwise, you could go weeks without making any real progress on the space.
For more on working with contractors and subcontractors in the general course of home renovations, read our article on finding good home improvement contractors.
Final Word
A successful basement finishing project requires a clear vision, thorough design, realistic cost estimates with ample wiggle room, and resilience as the work advances and unexpected issues crop up.
It’s your call whether the result is worth the effort. A finished basement expands your home’s living area, adds to your enjoyment of the property, and could produce income when rented out. But getting there is neither easy nor cheap. No one will judge you harshly for deciding you’d rather not deal with the stress of a major home improvement project. You can always circle back to the prospect when your circumstances change.
How are you planning to use your finished basement?
Editorial & Advertiser Disclosure: The editorial content on this website is not provided, commissioned, reviewed, approved, or otherwise endorsed by any advertiser. Opinions expressed are ours alone, not those of any advertiser. The offers that appear are from companies from which we may receive compensation. However, this compensation does not impact where and how these companies are mentioned on the site. We do not include all companies or all available offers in the marketplace.
Related: